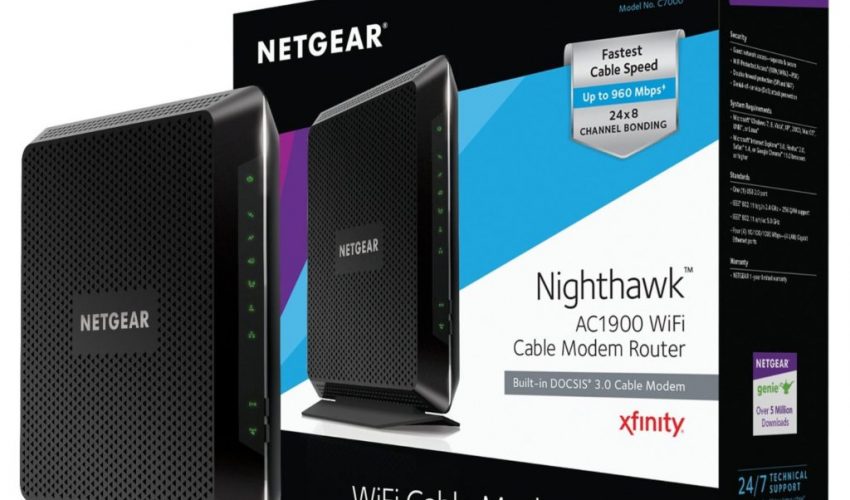
Setting up a Netgear desktop AC Wi-Fi Nighthawk range extender in your home is easy and fast. Netgear Nighthawk range has been pretty impressive including popular models AC 1900, AC5300 and AC 3200 Nighthawk models.
To begin first unbox your extender and connect the antennas. Then plug extender into an electrical outlet. For a seamless installation, we recommend that you complete the basic set up in the same room as your current router. To determine if your router supports WPS setup, look for a WPS button on the front or back of the router. if your router does not support WPS, watch the range extender set up with Netgear installation Assistant video. to set up with WPS, first press the WPS button on the extender. then press the WPS button on your Wi-Fi router. The corresponding link rate LEDs will light up solid green when you established a good connection between your Wi-Fi router and your extender.
If your Wi-Fi router supports the 5 GHz band and you want to extend this band, repeat the WPS process. Now unplug the extender and move it to a new location that is about half way between your router in the area with a poor Wi-Fi signal. The location that you choose must be within range of your existing Wi-Fi router network. Plug the extender into an electrical and wait for the LEDs to light on. Once power on, use the router length LEDs to help you choose a location where the extender to router connection is optimal. If the router link LED lights amber or green, you found a good connection for the extender. If the LED lights red, plug the extender into an outlet closer to the router and try again. moving the extender closer to the router will improve the connection but will reduce your extender’s coverage. Once you found a good location for your extender, connect your client device using the new network name. The extender uses your existing Wi-Fi name and adds_2GEXT or _5G EXT at the end. When connecting make sure to use the same Wi-Fi password as your router. If you’re unable to connect to your new Wi-Fi network from the dead zone, the range extender is not reaching the area with a poor router Wi-Fi signal. if possible move your client device closer to the extender until the device to extender LED turns solid green. Depending on the distance from your router to the dead zone, your extender may not be able to provide all the range that you require. In this situation, we recommend considering other solutions such as powerline. desktop AC Wi-Fi range extender feature 5 Gb ethernet ports so you can also AC enable your wire devices like game consoles TVs and desktop computers. There are many advanced features a can be located in the extender interface @ www.myWiFiEXT.net. From here you can control the range of your Wi-Fi with Wi-Fi coverage control. Set the schedules for your Wi-Fi with access scheduling. Speed up your connections with fast line and extend your wired connection with access point mode. Your desktop AC Wi-Fi range extender is now set up and ready to go.


